Installing Games with RGSX and More!
Now that RGSX is humming quietly in the background, it’s time for the fun part installing games directly to your hard drive. Yes, it’s exactly as easy as it sounds, but before you go on a downloading frenzy like a caffeinated teenager on LimeWire circa 2003, there are a few important things to understand.
Let’s dive in and get that retro ball rolling.
From the Batocera main menu, use your D-Pad or joystick to scroll left or right until you find the section called “Ports.”
Before doing anything else, make sure your gamepad is turned on and connected give it a few seconds to sync properly. Once ready, press A to enter the Ports section.
Inside, you’ll see several programs listed. Scroll down until you find RGSX, then press A again to start it.
When RGSX launches for the first time, it’ll ask you to set up your controller again this is separate from Batocera’s main settings, so take a minute to do it right. Once that’s done, RGSX will automatically fetch its necessary files: system images, game lists, artwork, and configuration data. Let it run this part only happens once.
Menu Navigation
-
D-Pad / Arrow Keys: Move between platforms, games, and menus.
-
Start (or “P” on a keyboard): Opens the pause/configuration menu.
-
From the pause menu, you can update system lists, refresh artwork, or rescan your game directories if things go missing.
Display Menu Options
-
Layout – Choose how your games are displayed (3×3, 4×3, etc.).
-
Font Size – Adjust for easier reading (handy if your screen’s across the room).
-
Show Unsupported Systems – Toggle this to reveal or hide platforms without ROMs.
-
Filter Systems – Include or exclude platforms by name to keep things tidy.
Downloading Games
-
Pick a platform (e.g., NES, Mega Drive, PS1).
-
Scroll through and choose a game you want.
-
Press Enter or A to start downloading.
-
Want multiple? Highlight several titles and press X to mark them with [X], then press A again to download them as a batch.
-
You can track progress via the History Menu.
Control Customization
If the controls feel weird, open the Pause Menu → Reconfigure Controls.
Follow the prompts, holding each button for about three seconds when asked.
RGSX automatically adapts button labels for your pad — whether you’re using Xbox, PlayStation, or 8BitDo layouts.
If things ever break (and they occasionally do), just delete this file: (Via the F1 Key on the main menu)
Then restart RGSX — it’ll rebuild fresh controls automatically.
History Menu
Access it from the pause menu or by pressing H on your keyboard.
You’ll see a list of downloaded titles, including any that failed or were cancelled.
Select one to re-download, or hit Clear to tidy the list (don’t worry, it won’t delete installed games).
At this point, you’ve officially graduated from “Batocera Beginner” to “Retro Game Technician.” You’ve got a front-end interface feeding you games on demand, automatic artwork updates, and full control over your growing digital museum.

One of The first critical steps inside RGSX is grabbing the BIOS files. These are the console’s core system ROMs, They are tiny firmware images that replicate what lived inside the original hardware. Without them, many emulators simply refuse to boot, leaving you staring at blank screens or instant crashes.
Here’s the direct process:
-
Launch RGSX from your Ports menu in Batocera.
-
Once inside, navigate to the BIOS section it’s usually right near the top of the system tools list.
-
Select Download All BIOS (or pick individual systems if you prefer).
-
Wait while it downloads and unpacks the firmware set it can take a few minutes depending on your connection.
When that’s complete, the BIOS files are automatically placed in the correct directories inside /userdata/bios/.
You’ll now have proper firmware for systems like PlayStation, Sega CD, Dreamcast, and more meaning games can start exactly as intended. Once that foundation is set, you can move on to copying your ROMs and letting Batocera do its visual magic with metadata and box art.
Welcome to the golden age “again”.
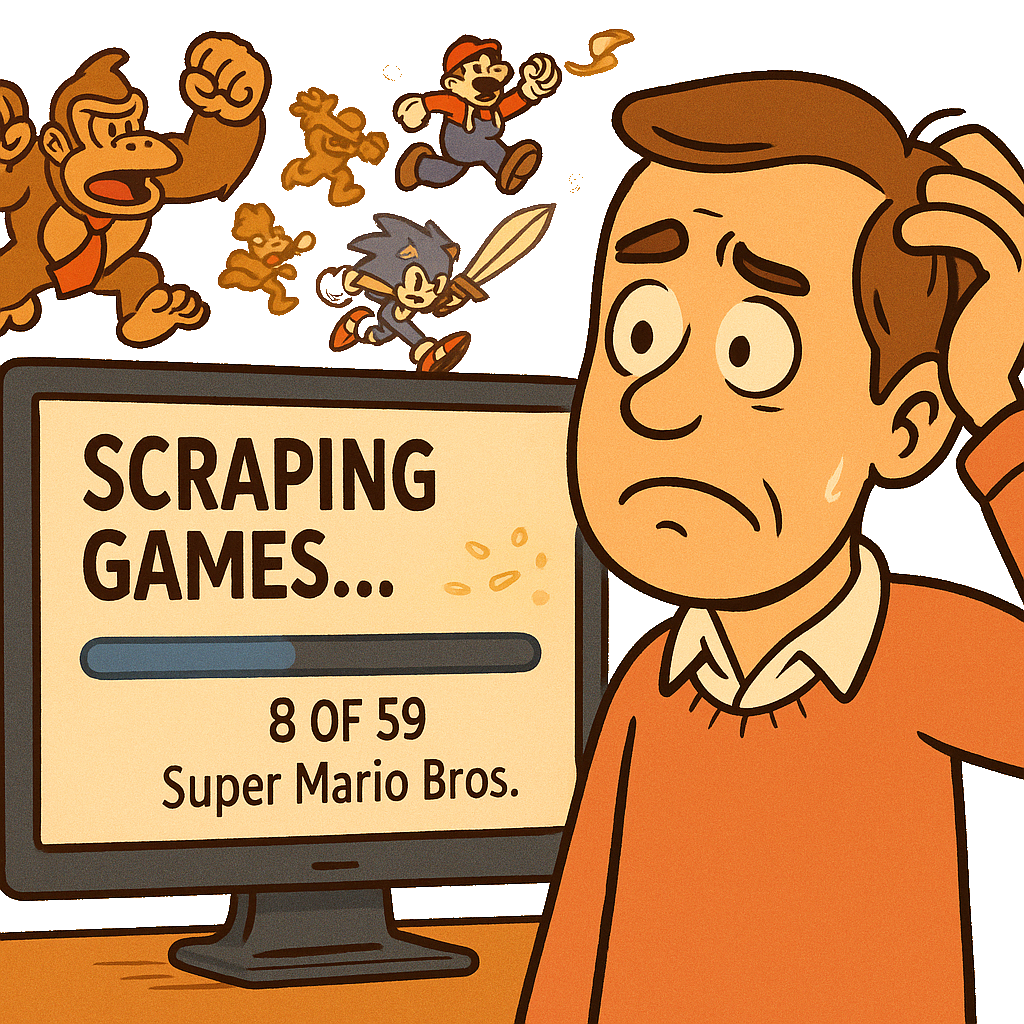
Now time to get Scraping
Scraping is Batocera’s way of turning a dull list of filenames into a polished game library that actually looks alive.
In raw form, your ROMs are just names on a drive “Sonic2.bin,” “SuperMarioWorld.zip,” “MetalSlug3.iso.” Scraping digs through databases online (like ScreenScraper, TheGamesDB, or ArcadeDB) and matches each file to its real identity. It then downloads the metadata: box art, screenshots, release year, publisher, number of players, even short descriptions.
When finished, your front end stops looking like a folder list and starts looking like an interactive museum. Each console section gets game covers, background videos, and details exactly like a digital library.

Mechanically, scraping doesn’t change your games it just adds the missing information layer so Batocera can display them properly. Without it, you’ve got a functional emulator collection; with it, you’ve got a curated, living archive of gaming history with pictures and videos.
What I am going to show you is how to keep scaping simple as it can get very complex ->
Scrape all (one-pass, simple):
-
Start → Game Settings → Scraper
-
Provider: ScreenScraper (leave default if unsure)
-
Scrape From: All Systems
-
Filters: Only Missing Medias = ON
-
Language: English (UK)
-
Region priority: Europe/UK
-
Media types: Box Art (Wheel) + Screenshot (skip Video on first run)
-
Hash/CRC matching: ON
-
Start Scrape
-
When done: Start → Game Settings → Update Games Lists
Scrape a single system:
-
Go to that system’s wheel or folder (e.g., SNES)
-
Start → Scraper
-
Scrape From: Current System
-
Only Missing Medias = ON
-
Language/Region as above
-
Media types: Box Art + Screenshot
-
Hash/CRC matching: ON
-
Start Scrape
-
Start → Game Settings → Update Games Lists
Per-game fix (only if a title scraped wrong):
-
Highlight game → Y (Edit Metadata) → Scrape
-
Pick the correct match → Save
Taking It to the Next Level Adding a Desktop to Batocera
So, you’ve mastered the art of downloading games, decorating them with shiny box art, and giving each one its rightful place in your growing retro empire. Your system now hums like a well-oiled nostalgia engine but here’s the thing: you’ve only scratched the surface.
Batocera isn’t just a gaming front-end; it’s a full-blown Linux powerhouse in disguise. Sure, it’ll run every 8, 16, and 32-bit classic you can throw at it, but it can also do much, much more.
Want to watch YouTube videos directly on your setup? Easy.
Need a fully functional desktop for browsing, file management, or running Linux apps? Done.
Feel like pushing the limits and running Windows games through emulation? Absolutely possible.
This next step is where your retro box stops being a toy and becomes a tool a lean, open-source multitasker capable of replacing half the overpriced junk Microsoft wants you to subscribe to.
You’re about to unlock the Linux Desktop Mode hidden inside Batocera. When we’re done, you’ll be gliding through open-source software like a digital surfer on a penguin-powered wave of freedom.
By the end of it, you won’t just be playing games you’ll be running an entire operating system. A system that doesn’t nag, doesn’t track you, and doesn’t treat your computer like a rental.
Strap in. We’re leaving the Microsoft Matrix and riding the Linux Wave of Wonder.
Batocera Unofficial Add-ons (BUA)
Ready to turn your Batocera box into something far beyond a gaming console? Good because it’s time to unlock the hidden treasure chest known as Batocera Unofficial Add-ons, or BUA. This is where the real magic starts: custom tools, extra utilities, new front ends, and yes a full Linux desktop hiding behind the arcade glamour.
Let’s begin.
From the main Batocera front end (where all your games are listed), press F1 on your keyboard. This will open the File Manager.
On the left-hand side, click on the Applications folder.
On the right-hand side, double-click on XTerm — your trusty black window of power.
You’ll see the familiar prompt again:
[root@BATOCERA /userdata]#
Now, carefully type this command exactly as shown (and yes, Linux will throw a tantrum if you get it wrong):
curl -L install.batoaddons.app | bash
Once you press Enter, the system will start fetching and installing the add-ons package. The screen will light up with scrolling text, progress updates, and a bit of Linux wizardry that makes you look smarter than you probably feel.
When it’s finished, type:
reboot
Then hit Enter and let Batocera restart.
Give it a few seconds, and once you’re back at the main front end, press F1 again to return to the File Manager.
Head to the Applications folder again this time, you’ll notice a new arrival on the right-hand side: Batocera Unofficial Add-ons.
Click it.
You’ll first see an information screen and a few warnings nothing to worry about, just Batocera reminding you that you’re venturing off the beaten path. Wait it out, and the installation menu will load.
Using your arrow keys, scroll down to System Utilities and press Enter.
Now prepare yourself you’ll be greeted by a buffet of Linux goodies: monitoring tools, file managers, networking utilities, media players, desktop options, and more. Ignore the lot for now.
Scroll down until you find:
DESKTOP_FOR_BATOCERA
Press the spacebar to place a neat little [ * ] next to it, then hit Enter.
The system will now begin installing the DRL Edition Desktop Environment a fully functional Linux desktop right inside your Batocera system.
This process can take several minutes, so be patient. Don’t mash keys. Don’t panic. Just let it do its thing. When it’s done, you’ll have transformed your little retro gaming box into a full Linux workstation capable of browsing the web, watching videos, managing files, or running apps all while still being your retro powerhouse.
Booting into Your New Linux Desktop
Once the installation of the Batocera Unofficial Add-ons is complete, you’ll be taken back to the selection screen. We’ll revisit the more advanced features later, but for now, let’s wrap up the basics and get that shiny new desktop running.
Press the spacebar to highlight Return (you’ll see that lovely little [ * ] appear again), then press Enter.
Next, scroll down to Exit and press Enter once more. Give it a few seconds Batocera is tidying up behind the scenes and making everything ready for your next reboot.
When it’s done, press F1 to return to the main front end.
Grab your controller, press Start, scroll down to Quit, then choose Restart System and press A to reboot.
Take a breath. You’ve just crossed the halfway point.

Once your system reboots, it’ll look the same at first don’t panic. Here’s how to open the Linux desktop hiding behind the curtain:
Press F1 on your keyboard. Wait for the file manager to appear. Then, using your mouse, click the X in the top-right corner of the window just like you would on a normal Windows machine.
And there it is. Your brand-new Linux desktop. Clean, quiet, and absolutely free of pop-ups asking you to sign in to a Microsoft account.
Take a moment. Bask in the glow of your accomplishment. You’ve officially crossed the line from gamer to Linux adventurer a master of open-source realms, wielder of terminal commands, and conqueror of unnecessary system updates.
Welcome to the other side.
Exploring Your New Linux World
Now that your desktop is installed, and you’ve learned your way around both BUA and the File Manager, you’ve officially levelled up from curious tinkerer to full-blown digital explorer. You can now hop between the Linux desktop and the Batocera front end like you’ve been doing it for years.
If you head back into Batocera Unofficial Add-ons (BUA), you’ll find an entire treasure chest of extra tools waiting for you web browsers, YouTube viewers, media players, utilities, and even more game collections. It’s like discovering a hidden second level after you thought you’d beaten the game.
Just one word of warning: don’t get too carried away installing everything that blinks. Space is finite, and retro enthusiasm has a way of filling drives faster than you can say “where did my 1TB go?”
But even if you do run out of space no panic required. That’s what external storage is for. You can easily expand your setup with another drive and keep the fun rolling.
And when you’re ready to dive back into gaming mode, just click the Batocera Menu icon on your desktop. It’ll drop you straight back into your game library, right where you left off a seamless bridge between productivity and play.
Take a moment to look around your new digital domain. You’ve got retro power, Linux freedom, and open-source flexibility all rolled into one tiny box.
Play. Experiment. Break things (and learn how to fix them).
You’re no longer just using a system you’re mastering your own world of code and chaos.
Coming Up Next on the Blog
Keep an eye out on my blog next, I’ll be showing you how to take your humble GMKtec G5 and turn it into an absolute gaming powerhouse.
We’ll push this little box right to its limits and beyond, with some clever hardware tweaks, upgrades, and a few tricks the manufacturer never intended. Expect faster performance, smoother emulation, and the kind of satisfaction that only comes from squeezing every last drop of power out of a £100 system.
This is where we go from retro revivalist to full-on digital engineer. The next chapter is all about raw performance, smart modding, and making the G5 roar like a beast twice its size.
Stay tuned — things are about to get very, very interesting.